My first fight stick mod: The Aggretstick
Back in 2014, when Ultra Street Fighter IV released and I was starting my first ill-fated attempt at joining the local FGC, my wife Michelle showed an outside interest in playing some fighting games.
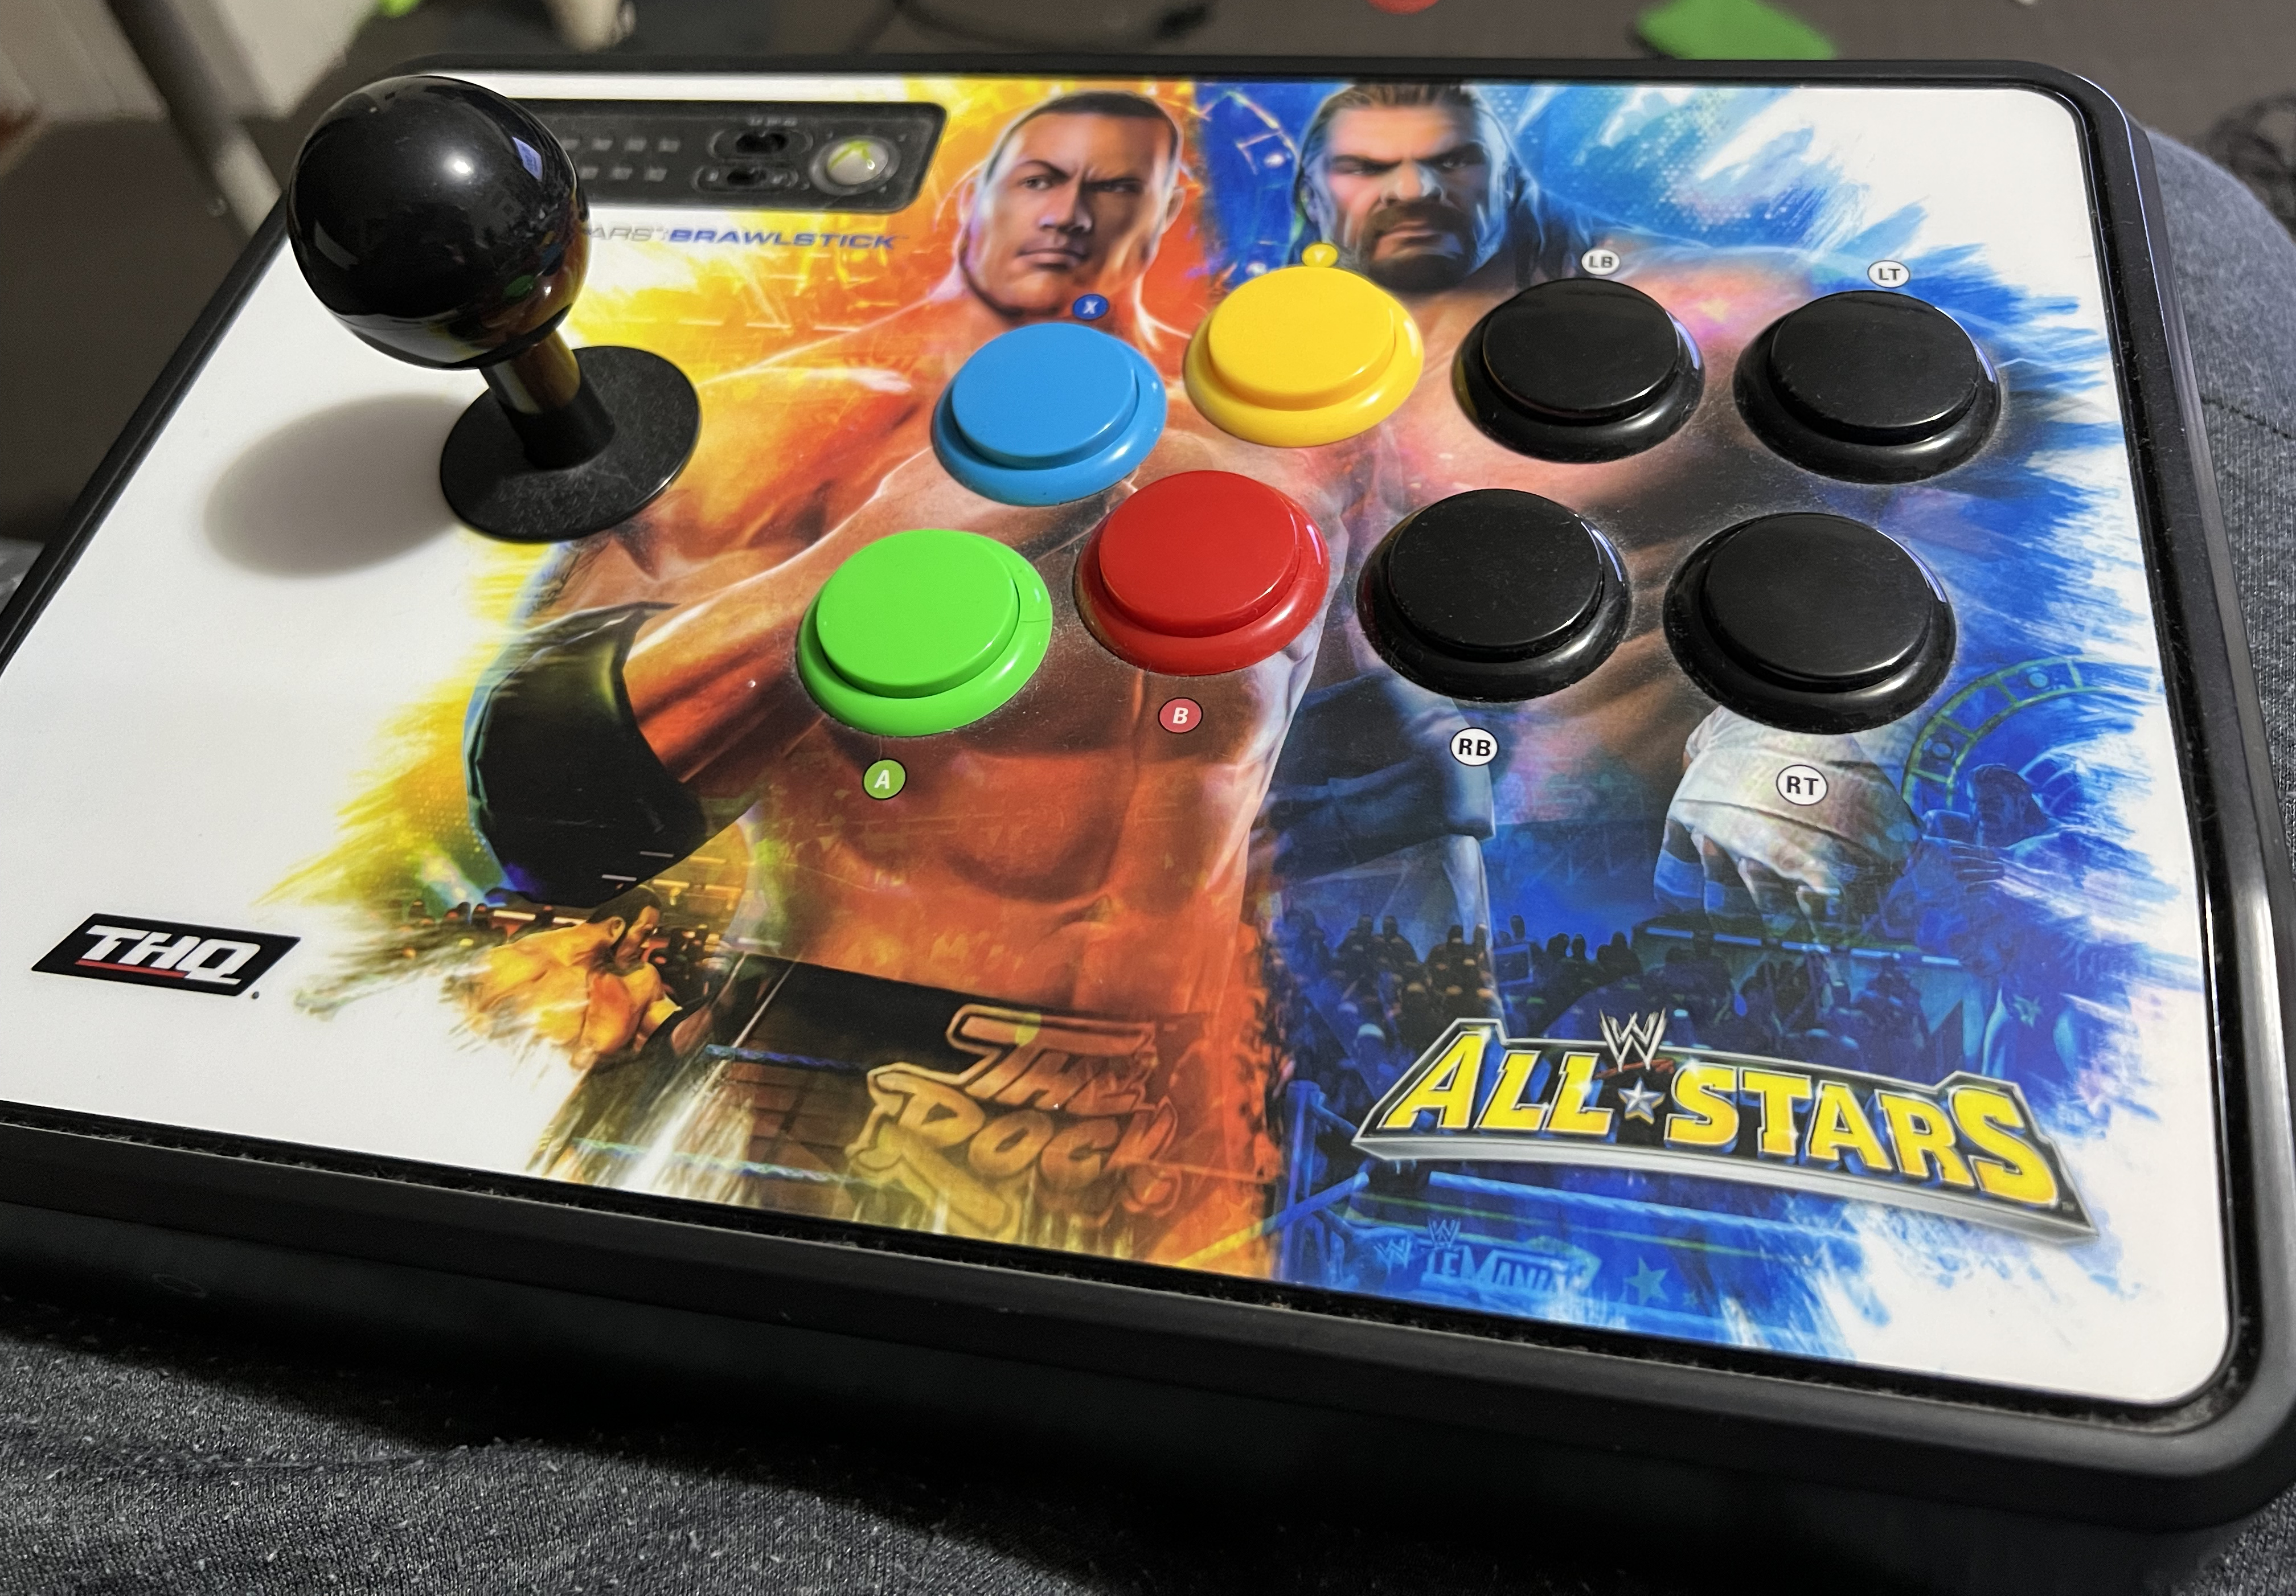
To help her along, we picked up a cheap, secondhand fight stick from Cashies. The stick - a MadCatz WWE All-Stars BrawlStick - was functional but fugly. It was basically a reskinned version of the lower-cost ‘MadCatz Arcade Fighting Stick’ developed for Street Fighter IV’s launch. Given MadCatz based the BrawlStick on an already popular stick, it had a solid shell and form factor, just a shitty design.
Unfortunately, Michelle dropped off fighting games not long after, having only a casual interest, and the stick sat under her TV for 7 years.
Until, that is, we found it last year when giving the house a sort. Recoiling at its awful artwork, laden with fucked-up cartoony wrestlers, I thought I’d try giving it a refresh with a design that was more her style.
Here’s a quick overview of how the process went. I didn’t know I would write about it at the time, so this isn’t a comprehensive step-by-step guide, just a high-level overview about what I needed to consider and buy.
The teardown
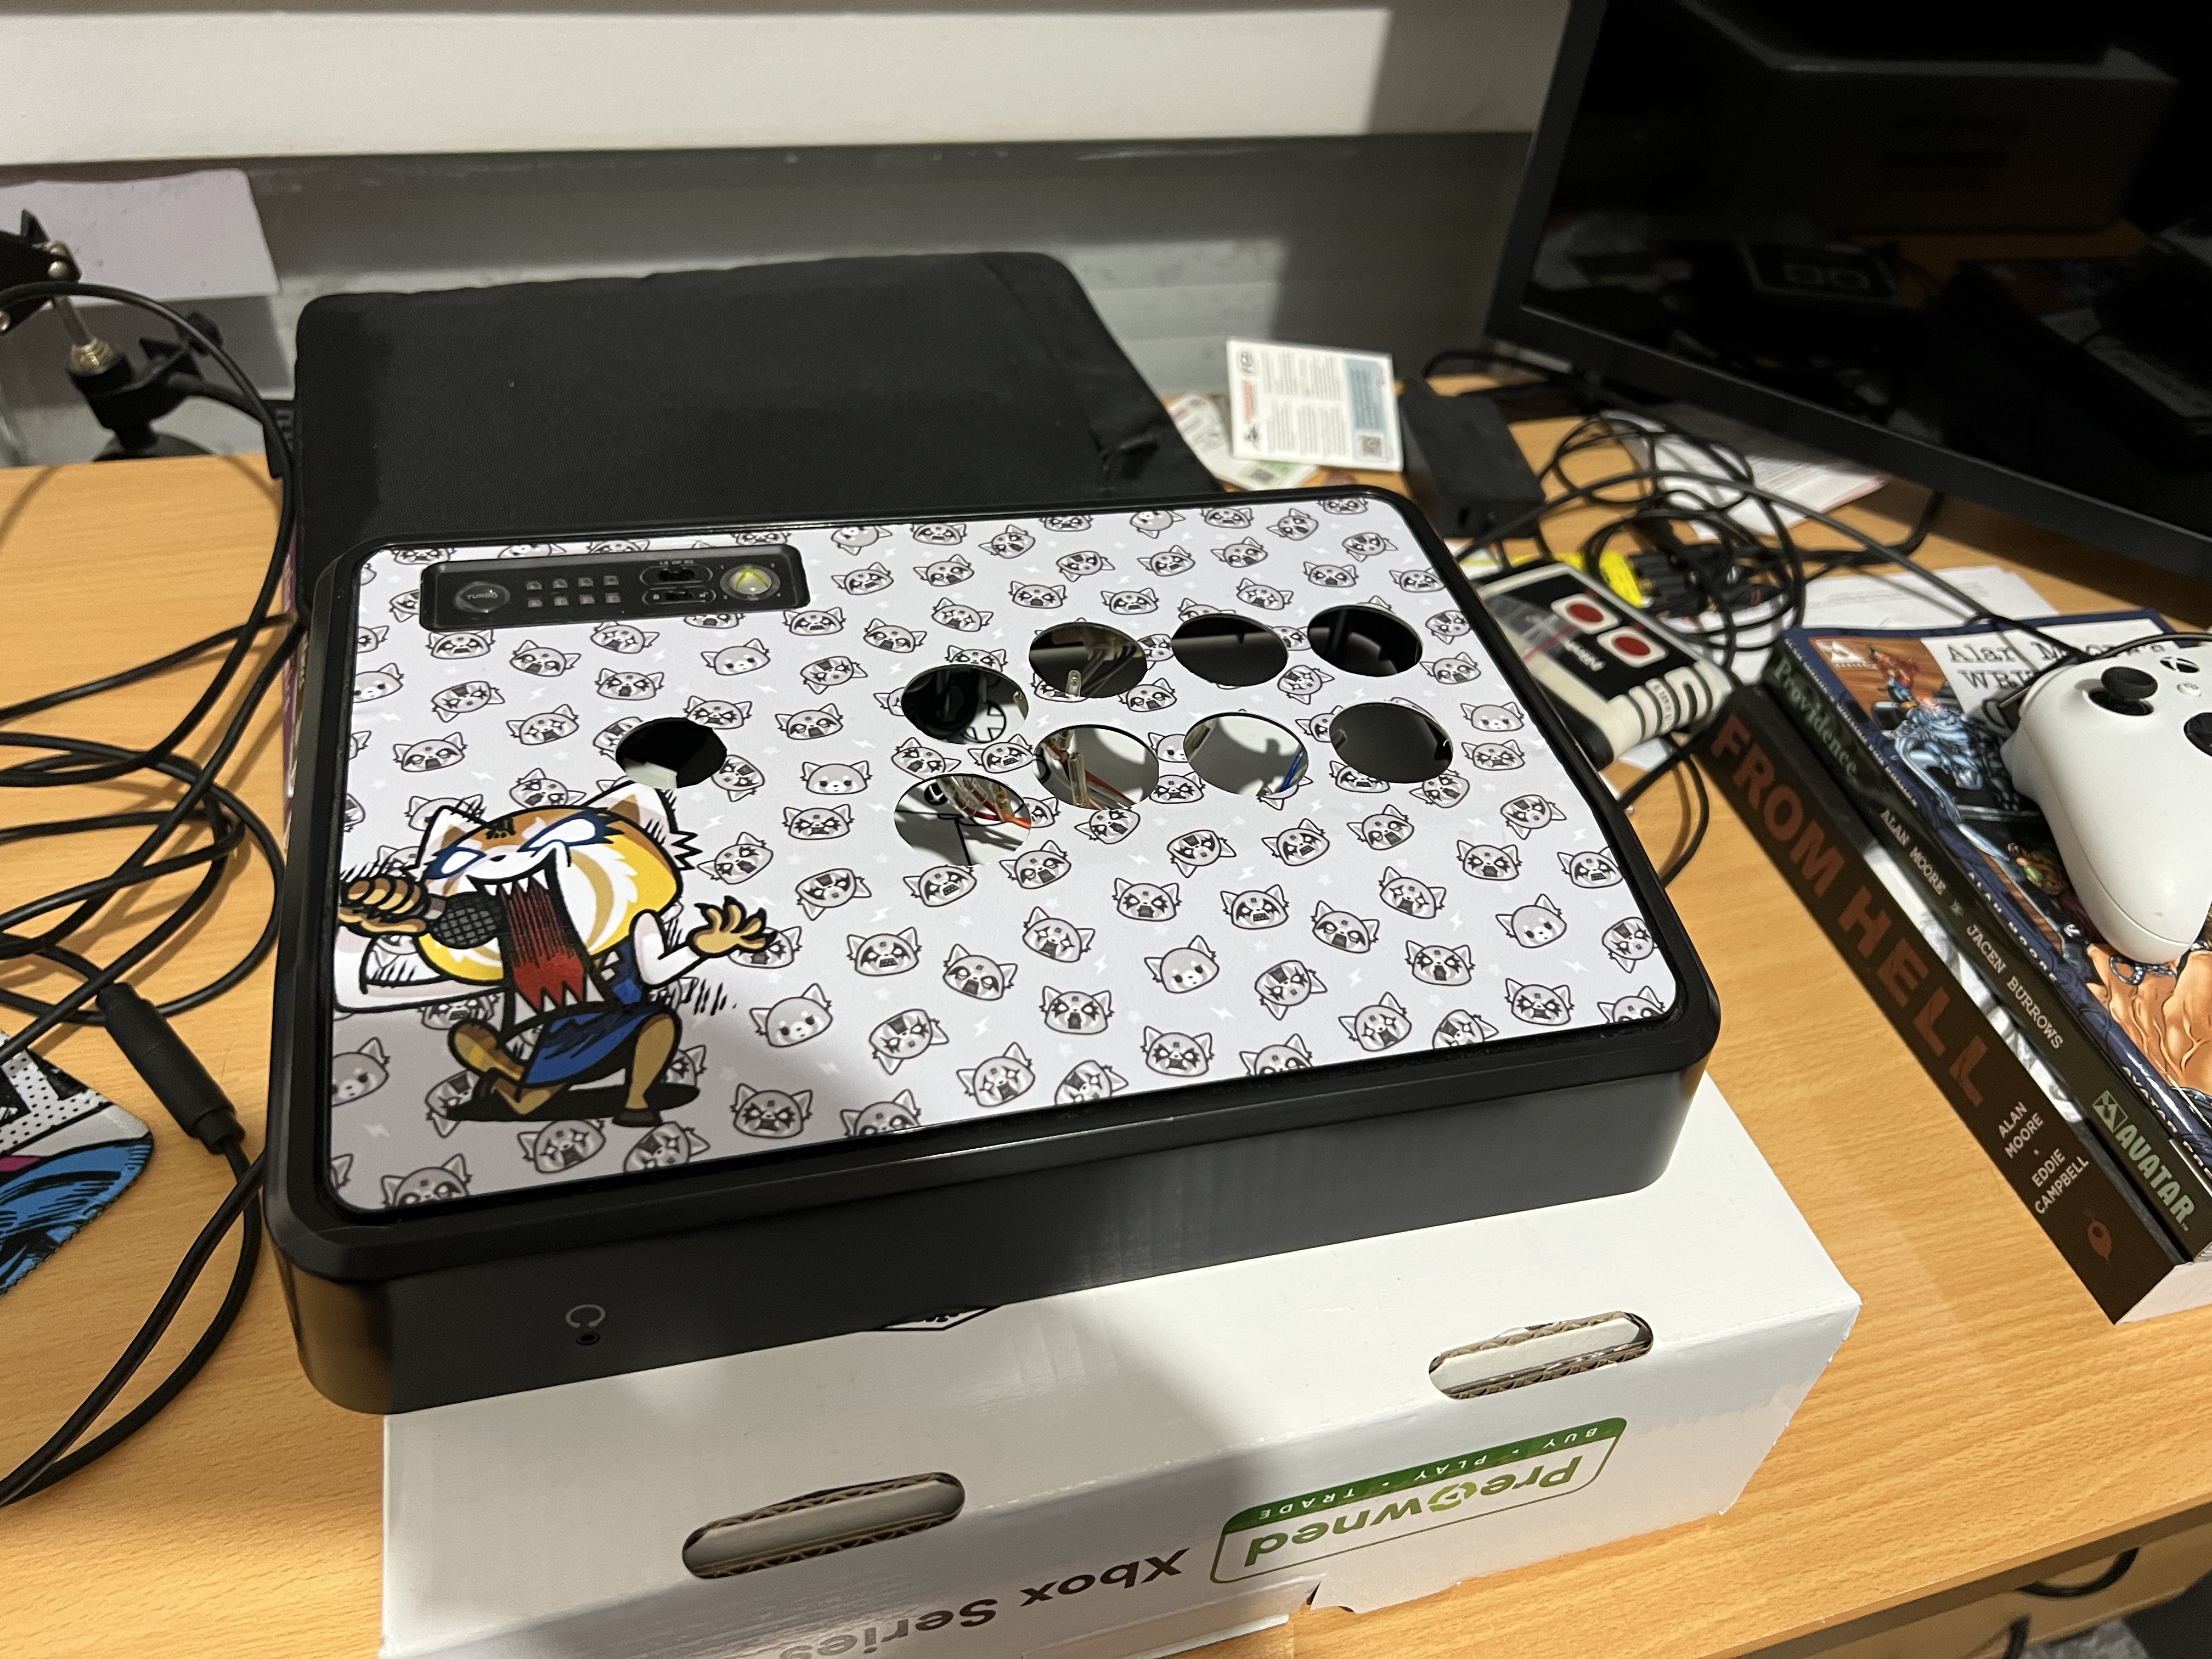
Simple, really: I unscrewed the back plate and detached and unscrewed everything.
Unlike the more expensive Tournament Edition, this model’s stock lever and buttons were Mad Catz’s own and not arcade quality, so I removed and threw them in the bin. Fight stick production in this era was kinda wild, so inside was crappy cable routing and dried glue everywhere - I chipped away what I could.

I also removed the top-plate and spent a few days peeling off the artwork and its residue. You can remove the residue easily enough with your finger, but it took me a few days and gave me a blister.
Shopping spree
To give the stick a thorough refresh, I need some new parts. I ordered the following:
- Sanwa JLF-TP-8YT joystick with a yellow balltop to fit the new theme.
- 8 Sanwa OBS push buttons. I opted for 6 yellow buttons and 2 white buttons.
- Brook Ultimate Fighting Board Fusion PCB - so the stick would be compatible with all contemporary formats (and some old ones too).
- 20-pin Joystick Harness, which makes wiring the Brook PCB a breeze.
- USB A-B USB 2.0 cable to power the Brook PCB. There are options to make the cable detachable, but I wasn’t game enough to cut the casing. Maybe I’ll try it with a future stick mod.
- Jansen’s Customs Mad Cats TE EZ MOD - replacement PCB for the home plate to save me the hassle of soldering. Lets you use the Guide button, switches, and ‘Turbo’ button.
Creative endeavours
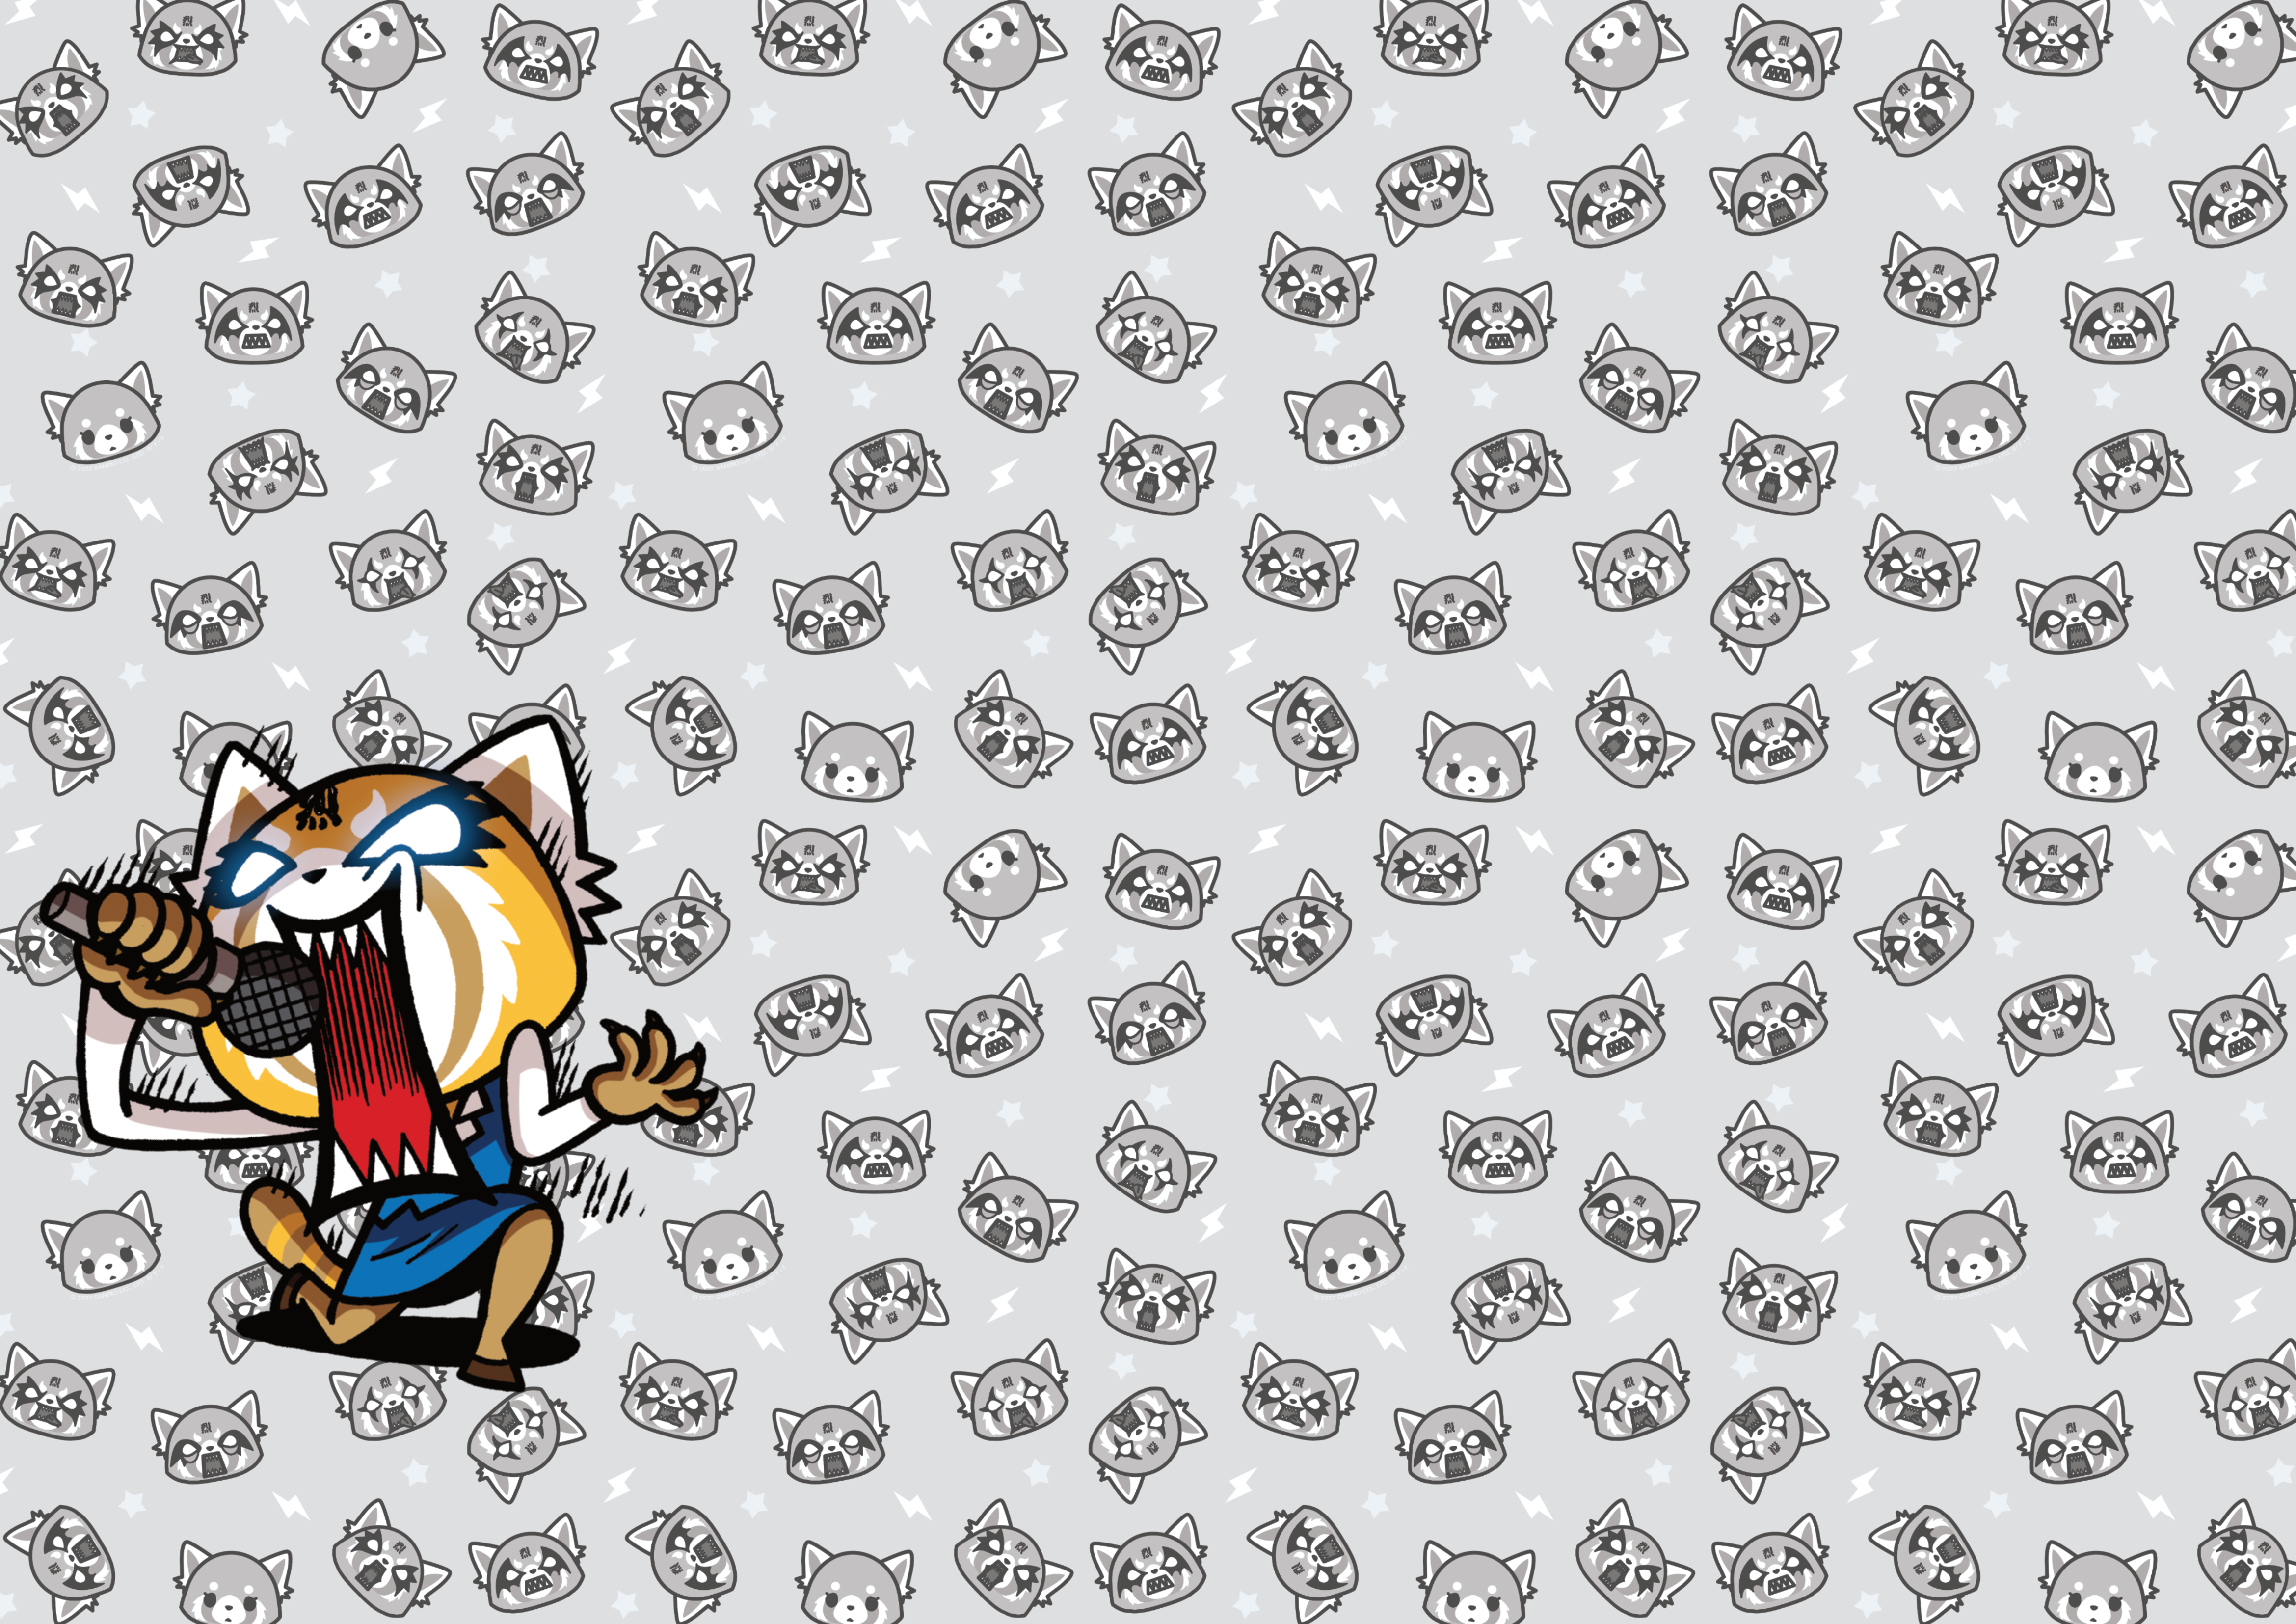
We’re both fans Aggretsuko (Sanrio’s office-working metal fan), and I felt it’d make decent inspiration for fight stick art. I created a simple design using mobile wallpapers and key art from Sanrio’s website (I can’t find what I used there anymore).
There were no templates for the front plate as there are for most modern sticks (there was a dead link on the Capcom blog, though). The plate was just under A4 size, so I made some assumptions and placed things in a way as to give some leeway when applying the art. Here’s the design:
I ordered prints as A4 vinyl stickers from BannerBuzz. I couldn’t decide whether glossy or matt lamination was best, so I ordered 2 of each. Glossy was easily the correct choice for the top plate, but I used one of the matt finish prints on the backplate to complete the theme.
I applied the sticker to the front of the plate as-is, making sure to squeeze out any bubbles along the way and cut away the excess bits away from the borders. Cutting out the holes was also easy enough with the sticker applied.
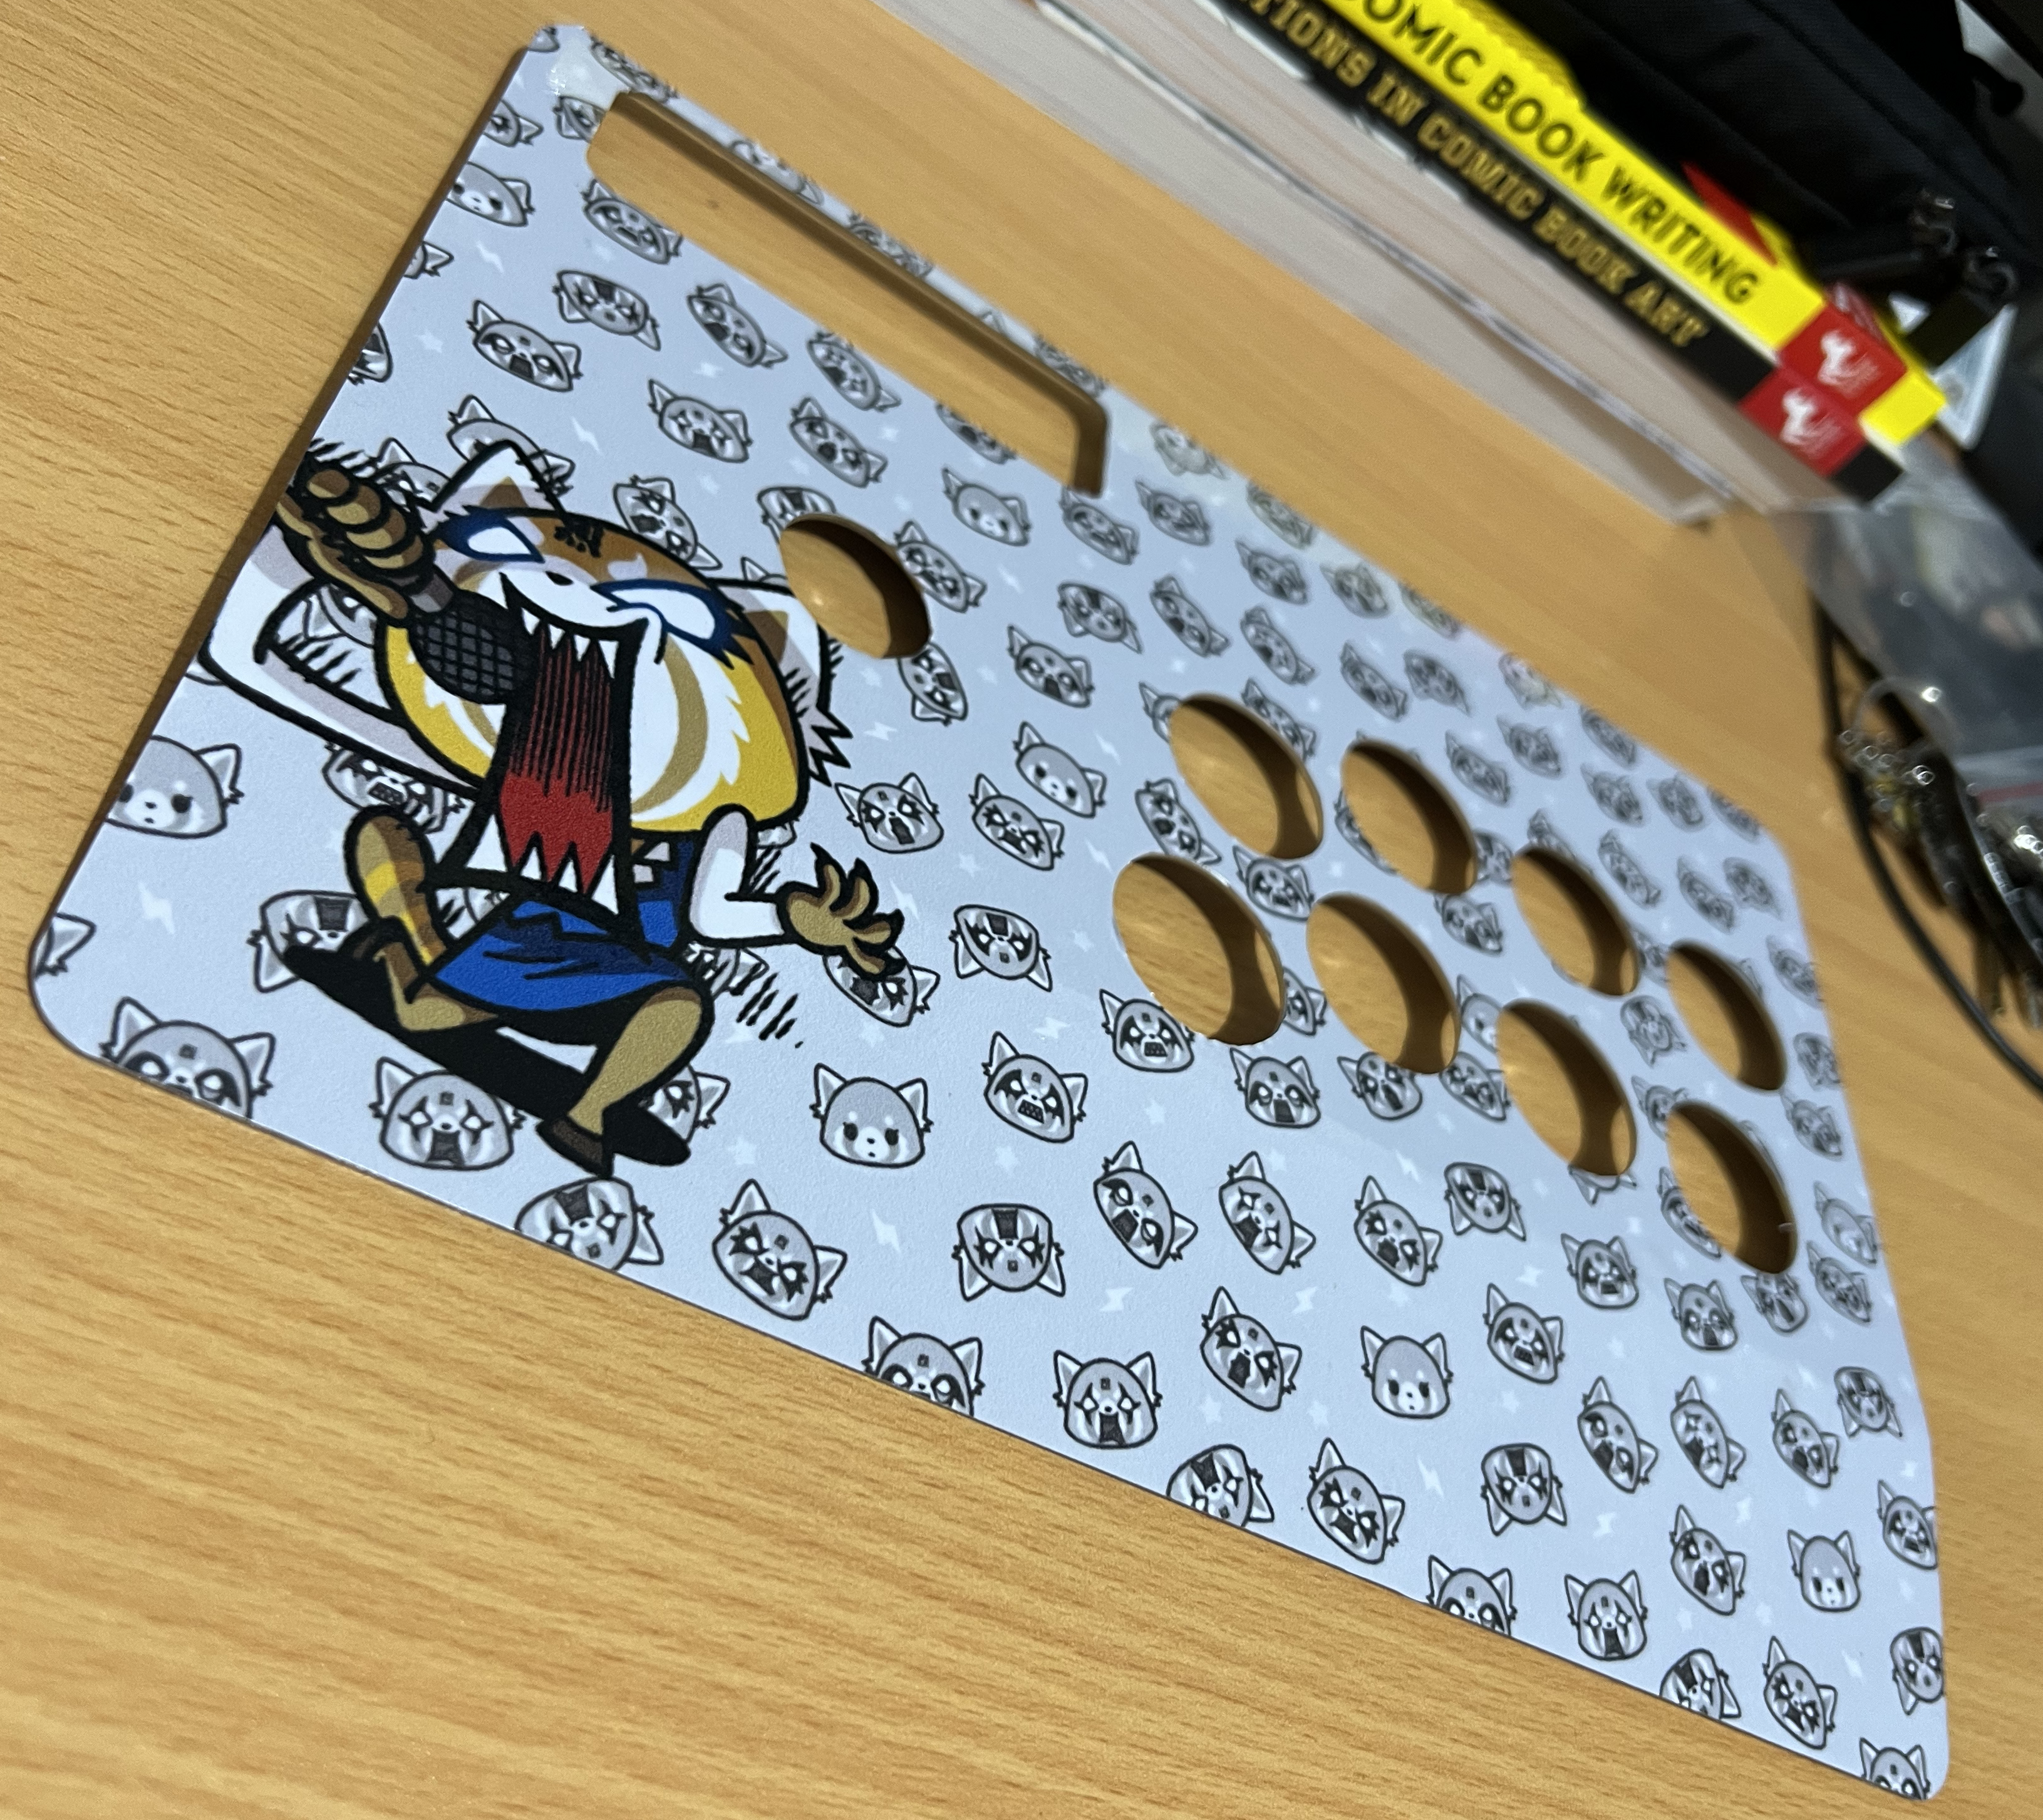
I left the screw holes, though, which caused some problems.
To screw the plate back on, I had to lift the print’s corners and sides to expose the holes. This, unfortunately, caused a little stretching and creasing in places. If I was to do this again, I’d probably order coloured screws (orange or black) to match the design and screw through the sticker instead.
Mixing the ingredients
This was the fun part: putting it all together!
Brook’s board has 3 different ways to connect buttons and switches, and you can mix and match where it makes sense. I used a 20-pin harness for all the main arcade buttons and the stick, but had to independently wire Start and Select.
Without modifying the casing, securing the Brook PCB and its wiring was a little challenging. I could only attach one side of the PCB to the case using stick-on PCB feet. I could have tried using a Dremel to trim down some of the interior structure to make room, but once the backplate was on, I found the lack of space combined with the cable tension held everything in place.
Pro tip: test that all the buttons behave as you expect before putting the backplate back on. It’ll save you a load of hassle later.
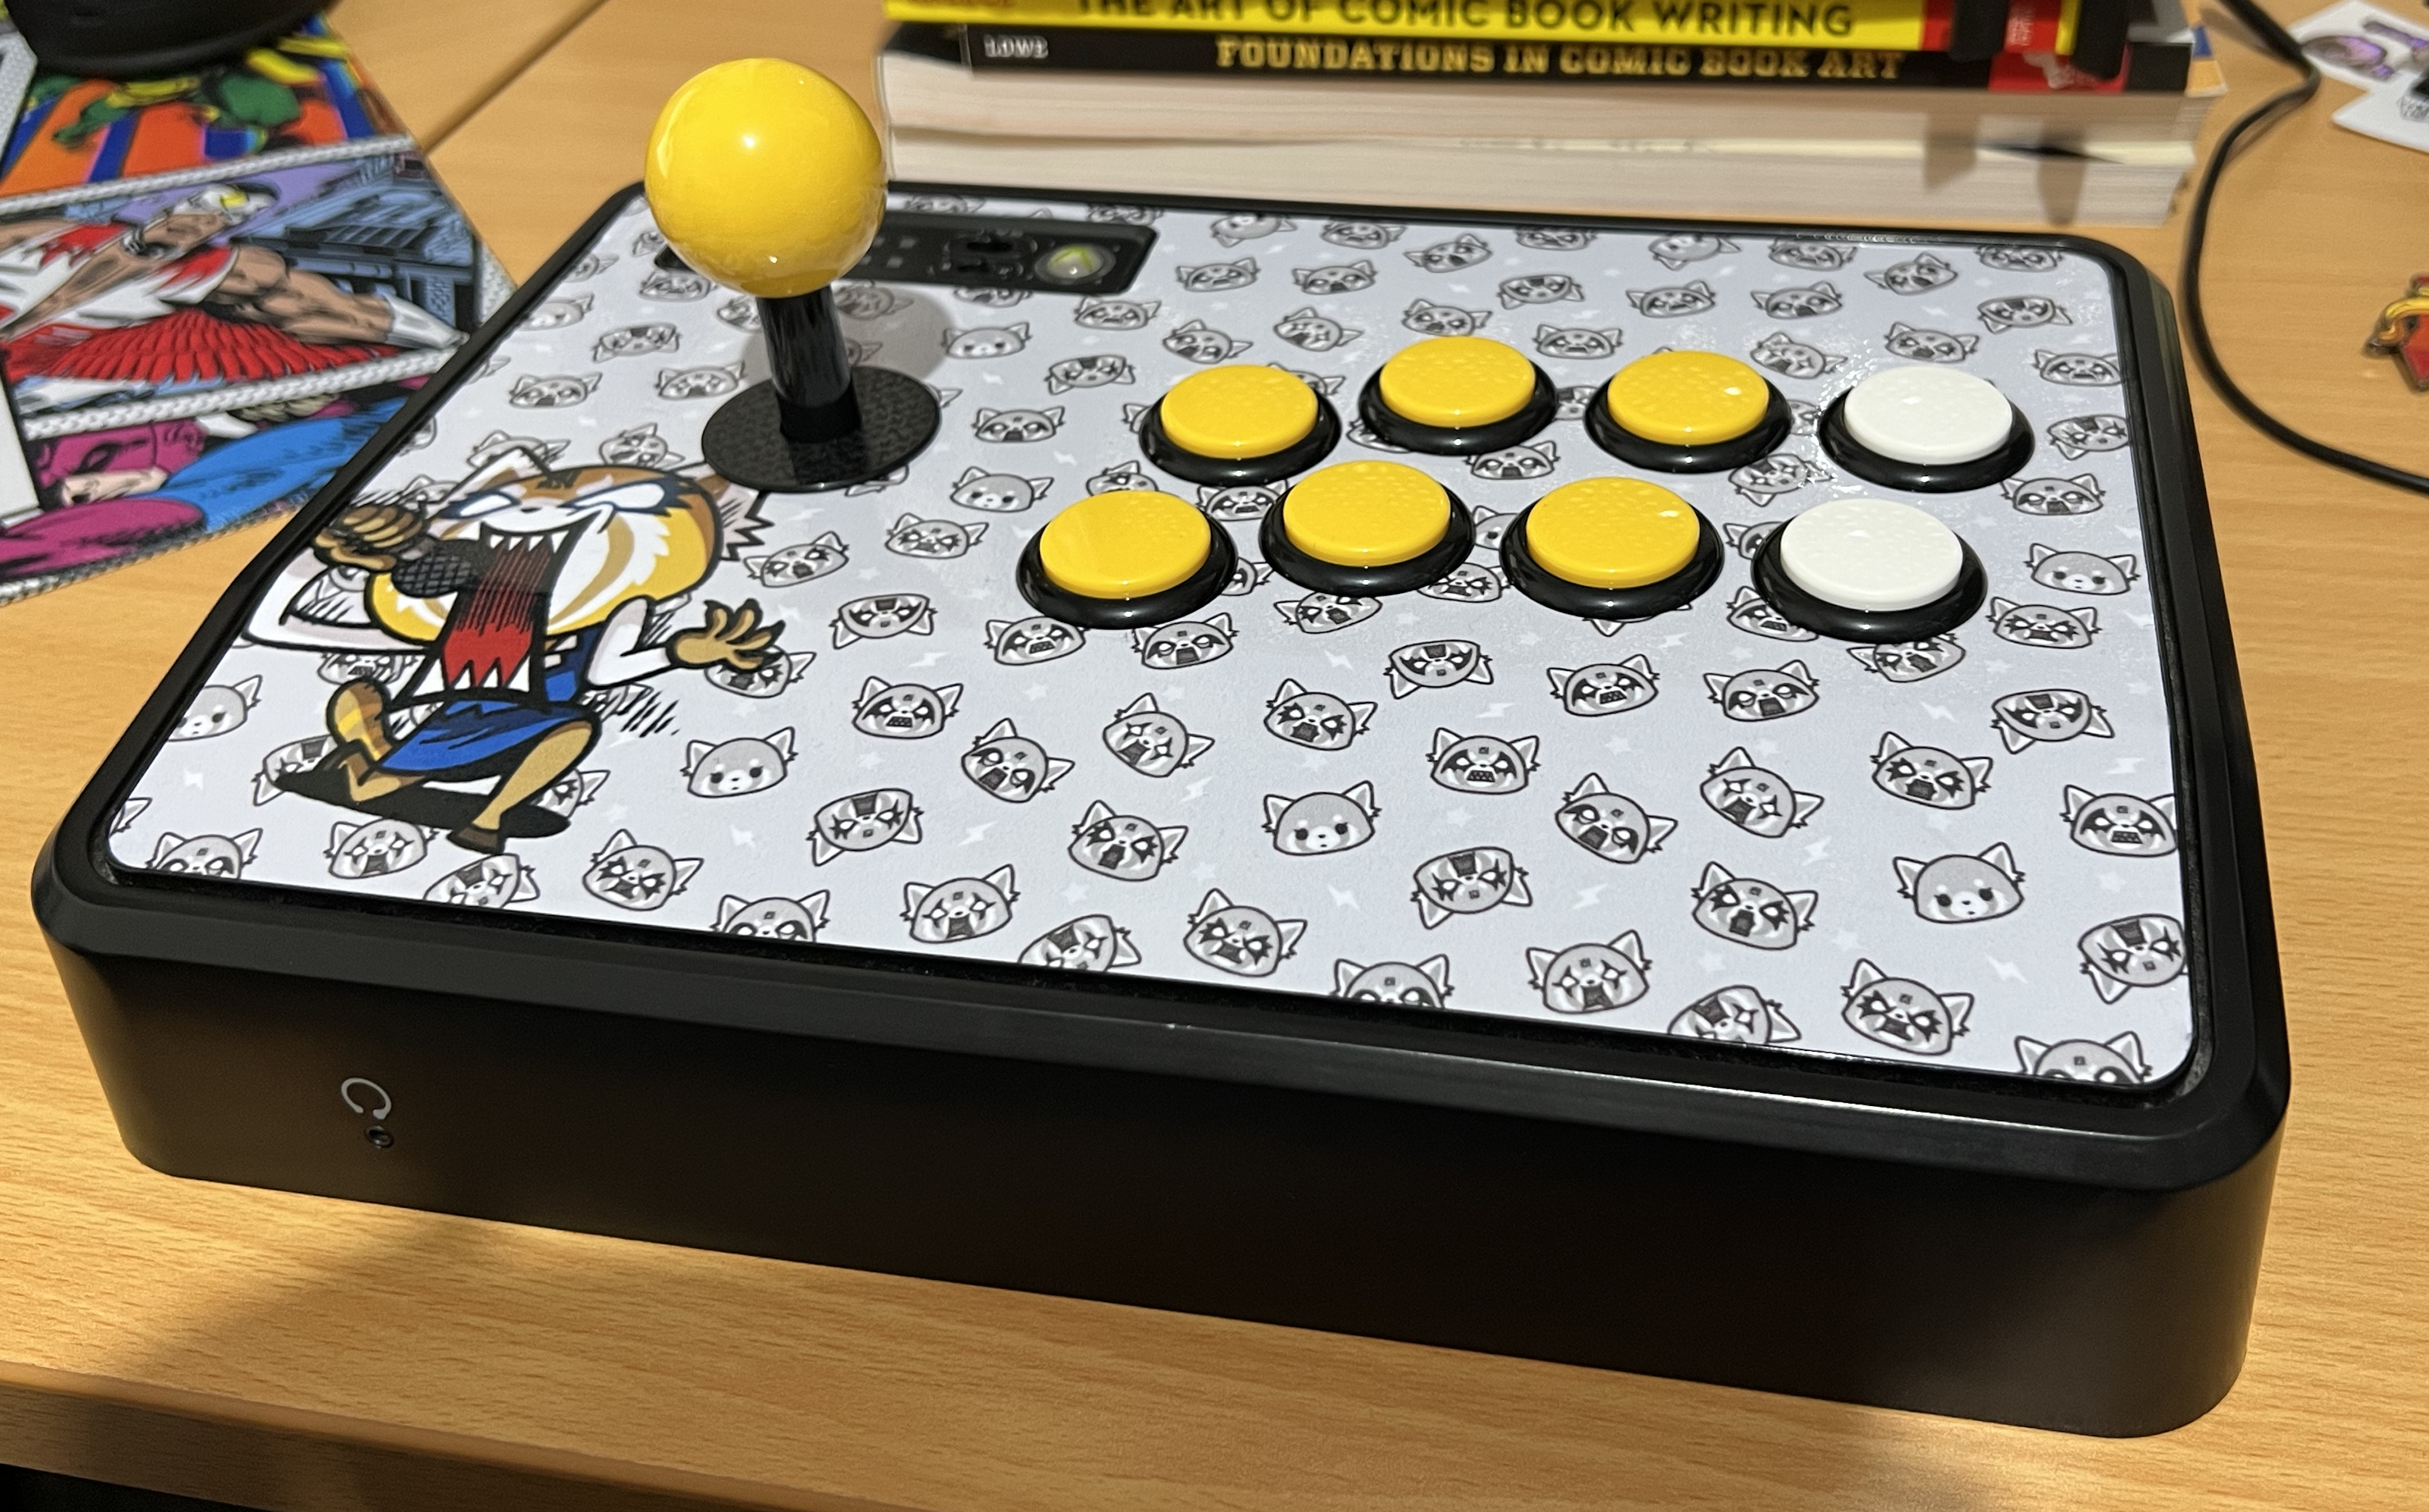
Marvel at the result!
What a difference, hey? Badly designed wrestle boys are no more.
